How to Organize Your Craft Supplies Effectively
Crafting is a wonderful way to express creativity, but keeping all those materials in order can sometimes feel like a never-ending project itself. With the right strategies, though, organizing your craft supplies can streamline your crafting process and spark even more creativity. Whether you’re working in a small corner of your living room or a dedicated craft room, these tips might just transform your crafting chaos into an artist’s haven.
Declutter and Categorize First
Before diving into storage solutions, it’s important to take stock of what you have. Begin by decluttering, which means sorting through your existing supplies and letting go of anything you no longer use or need. It’s surprising how much space you can free up by donating or discarding items that have been sitting unused for years.
Once you’ve pared down your collection, categorize your supplies. This can be done by material type—such as yarn, paper, or beads—or by project type if you frequently work with kits or specific projects like scrapbooking or quilting. Categorizing helps in determining the kind of storage solution you need for each group.
Invest in Clear Containers
One of the best ways to keep your supplies organized is by using clear containers. These allow you to easily see what’s inside without having to open every box to find what you need. Consider using stackable containers to save space, or opt for containers with compartments if you need to keep smaller items like beads or buttons separated.
For larger materials like fabric or paper, choose containers that fit the size of the material to prevent bending or damage. In cities like Portland, Oregon, where the crafting community thrives, local stores often offer a wide variety of these containers designed specifically for craft storage.
Label Everything
Labels are a crafter’s best friend when it comes to organization. Once your supplies are sorted into containers, label each one clearly. This can be done with a simple label maker or even with handwritten tags for a more personal touch.
Consider color-coding your labels by category or project. For example, use blue labels for sewing supplies and red for painting materials. This added layer of organization will not only make it easier to locate items quickly but will also make returning items to their proper place a breeze.
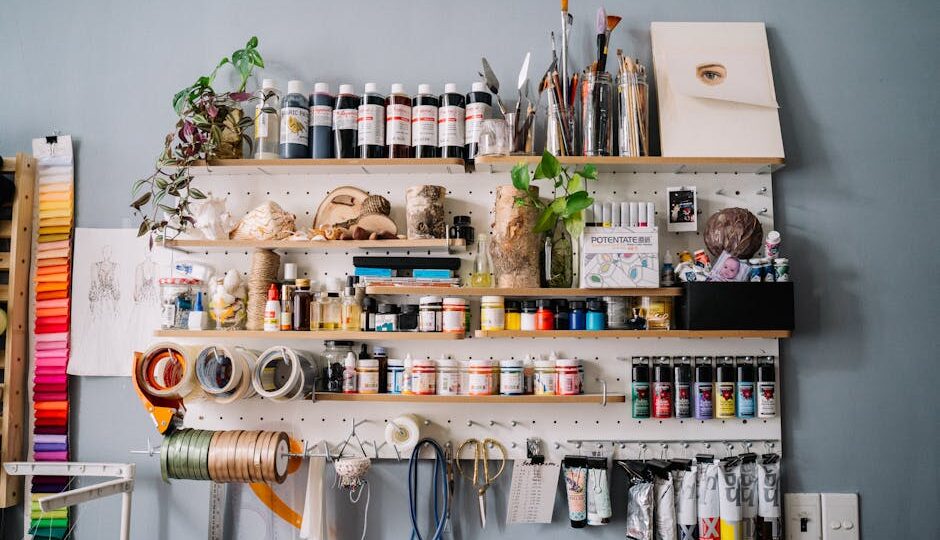
Utilize Wall Space
Don’t let your walls go to waste! Vertical storage can free up valuable table and floor space. Install shelving units to hold containers or display materials you use frequently. Pegboards are another fantastic option; they allow you to hang tools and supplies, making them easily accessible.
In places like New York City, where space is at a premium, maximizing vertical space can be the key to maintaining an organized and functional craft area.
Set Up a Dedicated Work Station
Having a dedicated work station isn’t just about having a place to craft; it’s about creating an environment that inspires productivity and creativity. If space allows, set up a table that’s designated solely for crafting. This helps keep your projects in progress safe and separate from daily clutter.
Adding small items like a lazy Susan for tools or a desk lamp with adjustable lighting can enhance your work station, making it both functional and comfortable for long crafting sessions.
Maintain Your System
The best organizational system is one that you maintain regularly. Set aside time after each crafting session to tidy up and return items to their designated spots. This habit not only keeps your space orderly but also makes your next crafting session more enjoyable, as you can jump right in without having to clean up first.
Consider scheduling a quarterly check-in with your supplies. This allows you to reassess what you have, dispose of items that are no longer useful, and ensure that your organization system is still effective for your needs.
By implementing these strategies, you can create an organized and inspiring crafting space. The process of organizing your supplies might even reveal a few forgotten treasures, sparking ideas for new projects. So, roll up your sleeves and get ready to transform your crafting space into a tidy, efficient paradise.