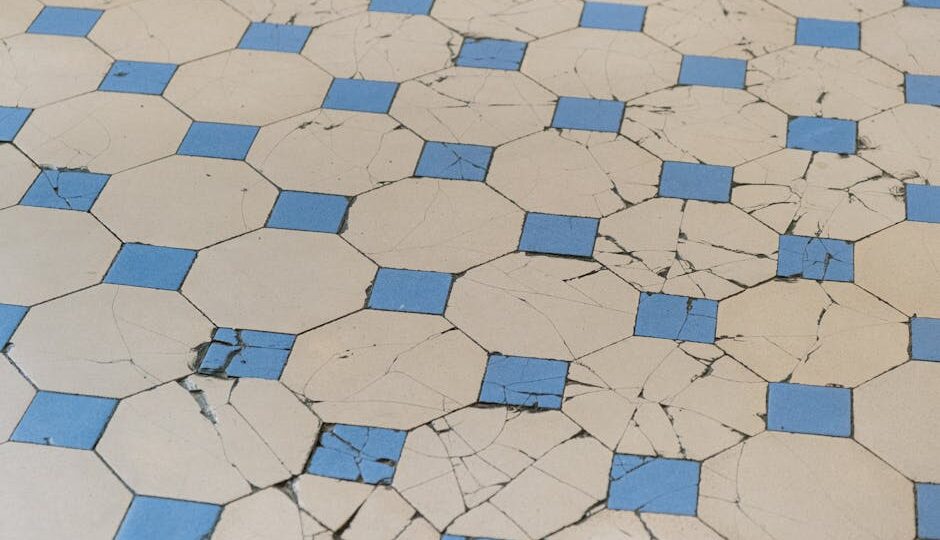
How to Create Stunning Mosaics from Broken Tiles
Creating a mosaic is like conducting a symphony of colors and shapes, harmonized into a beautiful piece of art. Using broken tiles as your medium not only breathes new life into discarded materials but also gives you the chance to craft something truly unique. Let’s embark on a journey through the world of mosaic art, where every shard of tile tells its own story.
Gathering Your Materials
Before you dive into the creative process, assembling the right materials is a crucial first step. Here’s what you’ll need:
- Tiles: Whether it’s from a renovation project or a local thrift store, broken tiles can be sourced from numerous places. Look for variety in color and texture. Remember, imperfections add character!
- Adhesive: Use a high-quality adhesive, like thin-set mortar, which is perfect for securing tiles onto most surfaces.
- Grout: Available in various colors, grout not only fills the gaps but can also enhance the aesthetic appeal of your mosaic.
- Tools: A tile cutter, safety goggles, tile nippers, and a trowel are essential tools for shaping and laying your tiles.
- Base: Consider the surface that will host your mosaic. Plywood, concrete, or even an old tabletop can work excellently.
Designing Your Mosaic
Design is the heart of a mosaic project. Start by sketching your idea on paper. Are you envisioning an abstract pattern, or are you inspired by the intricate mosaics of ancient Rome? Consider visiting places like the Metropolitan Museum of Art in New York City or Gaudí’s Park Güell in Barcelona for inspiration.
Once you have a design, lay your tiles out on the base without adhesive. This allows you to experiment with different arrangements and colors before committing. Remember, there’s no right or wrong; it’s all about personal expression.
The Creative Process: Cutting and Laying Tiles
With your design in mind, it’s time to start cutting the tiles. Safety first! Wear your goggles while cutting to protect your eyes from sharp edges. Use a tile nipper or cutter to shape the pieces as needed.
Begin by applying a thin layer of adhesive to a small section of your base. Press each tile piece into the mortar, leaving some space for the grout. Work systematically, tile by tile, until the design is complete. Patience is key, as rushing can lead to misalignment or an uneven surface.
Grouting: The Finishing Touch
Once your tiles are set and the adhesive has dried (usually 24 hours), it’s time to grout. Mix the grout to a paste-like consistency and apply it over the tiles with a trowel, pressing it into the spaces between them. Wipe away excess grout with a damp sponge.
Allow the grout to cure for another 24 hours. As it dries, it will give your mosaic a polished, cohesive look. If you fancy a bit of extra shine, consider applying a sealant once the grout has cured completely.
Showcasing Your Mosaic Masterpiece
With your mosaic complete, it’s time to showcase it. Whether it adorns your garden path, a wall in your home, or serves as a unique tabletop, your creation is sure to be a conversation starter. You might even consider entering local art exhibitions or festivals, like the Mosaic Arts International held annually in various cities across the United States.
Creating mosaics is not just about crafting a piece of art; it’s about finding beauty in the broken and creating something remarkable from it. It’s a testament to the idea that even fragmented pieces can make something whole.
Practical Takeaway
Embarking on your mosaic journey with broken tiles is both environmentally friendly and creatively satisfying. With patience and imagination, you can transform discarded pieces into stunning works of art that add character and personality to your surroundings. Next time you see a pile of broken tiles, consider the beautiful mosaic masterpiece waiting to be created.