A Complete Guide to Building Custom Shelves
Creating custom shelves is a fantastic way to tailor your space to meet your exact needs while showcasing your personal style. From the bustling streets of New York to the serene suburbs of Portland, homeowners are discovering the joys of creating unique, functional shelving solutions. Whether you’re looking to display your favorite novels, organize your kitchen, or add a decorative touch to your living space, building your own shelves can be a fulfilling project.
Getting Started: Planning Your Shelves
The first step in building custom shelves is to plan carefully. Assess the space where you plan to install the shelves and consider what items you’ll store. Do you need to accommodate tall books, or perhaps your growing collection of potted succulents?
Take precise measurements of the width, height, and depth of the area. This will help you determine the materials you’ll need and ensure a perfect fit. Sketch out a rough design, and don’t be afraid to get creative with shapes and configurations.
Choosing Your Materials
Material selection is crucial. Popular choices include wood, metal, and even glass. Each has its pros and cons:
- Wood: Offers a classic look and is easy to work with. Opt for pine or oak for durability. Reclaimed wood can add character and sustainability to your project.
- Metal: Provides a modern, industrial feel. Steel and aluminum are great options for those looking to support heavier items.
- Glass: Perfect for a sleek, minimalist appearance. However, it requires meticulous maintenance to keep it free from fingerprints and dust.
Consider combining materials for a mixed-media effect, such as wooden shelves with metal brackets.
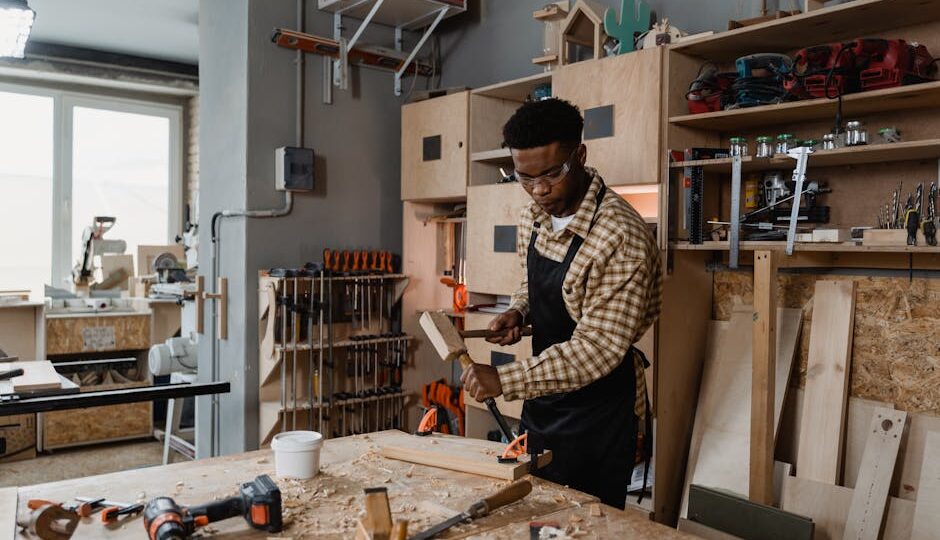
Gathering Your Tools
Having the right tools is essential for a smooth building process. Here’s a handy checklist to guide you:
- Measuring Tape: Accuracy is key.
- Drill: Essential for mounting your shelves securely.
- Level: Ensures your shelves are perfectly horizontal.
- Saw: A circular saw works best for cutting wood and metal.
- Sandpaper: Smooths out rough edges for a polished finish.
- Screws and Anchors: Provides the necessary support, especially for heavier shelves.
With these tools on hand, you’re ready to embark on your DIY journey.
Step-by-Step Building Instructions
Let’s break down the building process into manageable steps.
1. Cut Your Materials: Based on your design, use your saw to cut the materials to the desired dimensions. Double-check measurements before cutting to minimize waste.
2. Sand the Edges: Use sandpaper to smooth the edges. This step not only enhances the aesthetic but also ensures safety by removing splinters.
3. Assemble the Shelves: Begin by attaching the brackets to the shelves. If using wooden shelves and metal brackets, pre-drill holes to avoid splitting.
4. Secure to the Wall: Use a level to align the shelves perfectly, then drill the brackets into the wall. Use anchors for added stability, particularly if you’re attaching shelves to drywall.
5. Finishing Touches: Consider staining or painting your shelves to match your room’s decor. Add decorative brackets or accent pieces for a personalized touch.
Inspiring Ideas and Examples
Need some inspiration? Here are a few creative shelving ideas:
- Floating Bookshelves: Create the illusion of books floating on your wall by using hidden brackets. This style is perfect for small spaces.
- Corner Shelves: Transform unused corners into valuable storage with triangular shelves.
- Geometric Designs: Opt for hexagonal or diamond-shaped shelves for a modern art-deco vibe.
Explore different styles and colors to find what best complements your home decor.
Practical Takeaway: Your Shelving Masterpiece
Building custom shelves is a rewarding project that combines functionality with creativity. By carefully planning, choosing the right materials, and following thoughtful steps, you can create beautiful, personalized shelving that enhances your space. So grab your tools and get started on your shelving masterpiece—it’s time to transform your home one shelf at a time.