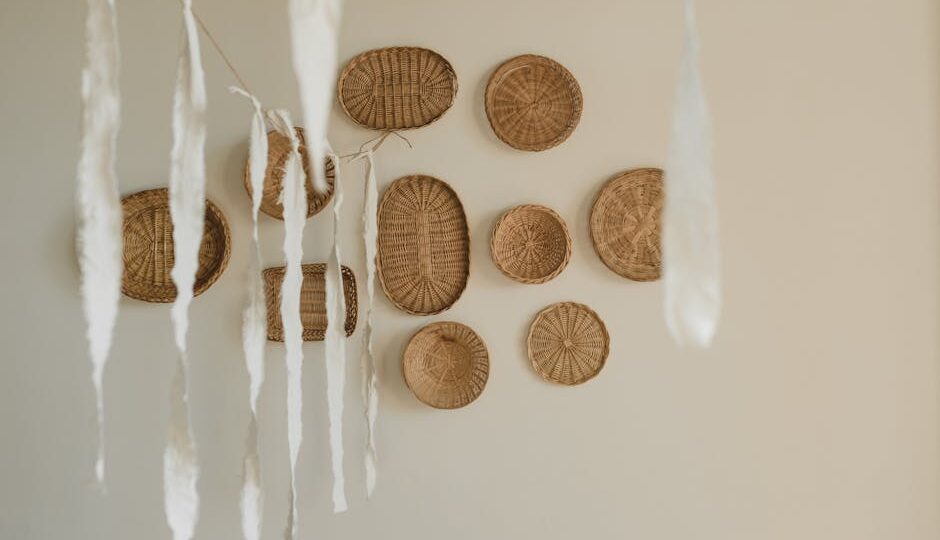
The Rise of Textured Wall Art
As 2026 unfolds, homeowners are increasingly seeking unique ways to express their personality through interior design. Textured wall art has emerged as a captivating trend, offering depth and dimension to any room without the need to acquire expensive artwork. From simple raised patterns to intricate designs, textured paint techniques provide an affordable, creative outlet for DIY enthusiasts.
Infusing texture into your wall art not only adds visual interest but also allows you to experiment with different materials and techniques. Let’s explore how you can transform plain walls into stunning focal points with textured paint.
Essential Materials and Tools
Before you begin your textured wall art project, gathering the right materials is crucial. Here’s a list to get you started:
- Textured paint: Available in various forms such as premixed, powder, or additives to mix with standard paint.
- Texture tools: Consider purchasing items like sponges, brushes, trowels, and stencils to create different effects.
- Primer: Prepping your wall with a primer ensures better adhesion and longevity of the paint.
- Painters tape and drop cloths: Protect adjacent areas and flooring from accidental spills.
- A ladder: Essential for reaching higher areas safely.
Once you have your tools ready, you’re all set to dive into the creative process.
Step-by-Step Guide to Creating Textured Wall Art
Crafting textured wall art involves a few key steps. Here’s how to bring your vision to life:
- Prepare Your Surface: Clean your wall to remove dust and grease, then apply a coat of primer. Allow it to dry completely.
- Select Your Pattern: Decide on the design you wish to create. For beginners, geometric patterns or a simple stucco effect might be easier to manage.
- Apply Base Layer: Use a roller to apply a base coat of textured paint. This will serve as the foundation for your design.
- Create Texture: Once the base layer is slightly dry, use your chosen tools to create patterns. Use a sponge for a stippled look, a brush for strokes, or a trowel for a plaster effect.
- Add Color: If desired, once the texture is dry, apply a wash of color over the top to accentuate the texture.
Remember, the key is to experiment with different techniques until you find a style that suits your taste.
Popular Textured Patterns of 2026
Textured wall art offers endless possibilities. Here are some patterns trending in 2026:
- Organic Waves: Inspired by natural forms, these patterns use sweeping gestures to create a calming effect.
- Geometric Grids: Perfect for modern spaces, grids offer a structured yet dynamic look.
- Abstract Expressionism: For those who love a touch of chaos, abstract patterns allow free reign to creativity with bold, unpredictable forms.
Choosing the right pattern can transform your space, making it both unique and inviting.
Enhancing Your Wall Art with Finishing Touches
Once your textured wall art is complete, consider adding some finishing touches to enhance its appeal. This could include:
- Lighting: Proper lighting can accentuate the texture, creating stunning shadows and highlights.
- Frames or Borders: Adding frames or borders can provide a polished look to your artwork.
- Complementary Décor: Incorporate furnishings or accessories that echo the theme or color scheme of your wall art.
These elements help tie your wall art into the overall design of your home.
By embracing textured wall art, you’re not just painting a wall; you’re crafting a piece of art that reflects your personal style and creativity. So gather your materials, unleash your imagination, and watch as your walls come to life with texture and color.